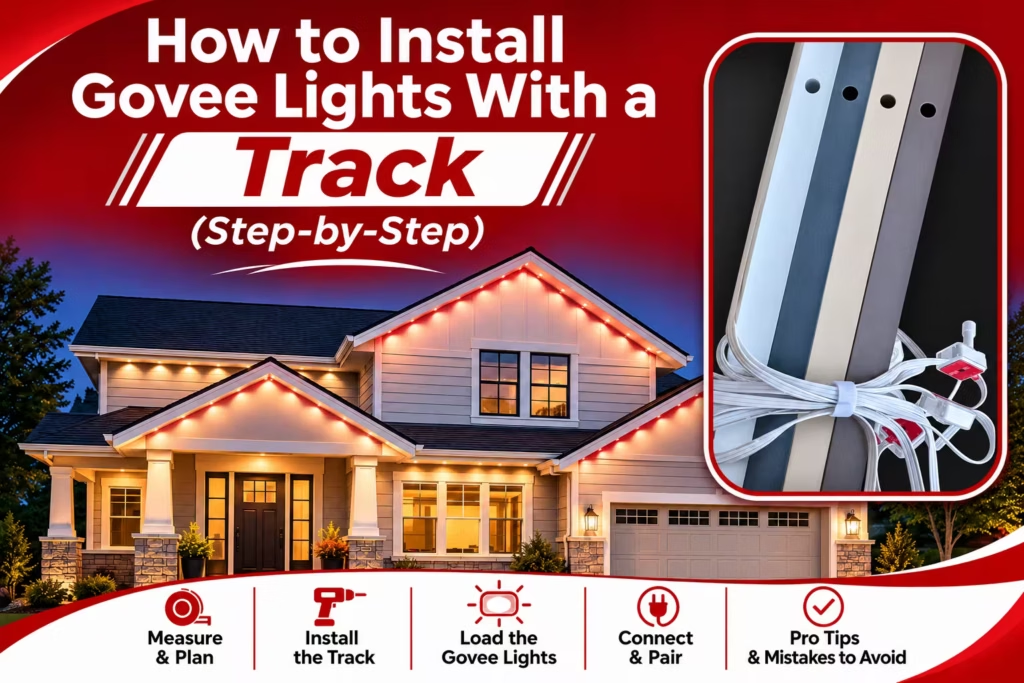
You climb the ladder in October, press 100 feet of Govee pucks onto the soffit, and step back to admire the glow. Then the first cold snap arrives. One puck droops. Another dangles by its wire. By December, a few are lying in the shrubs.
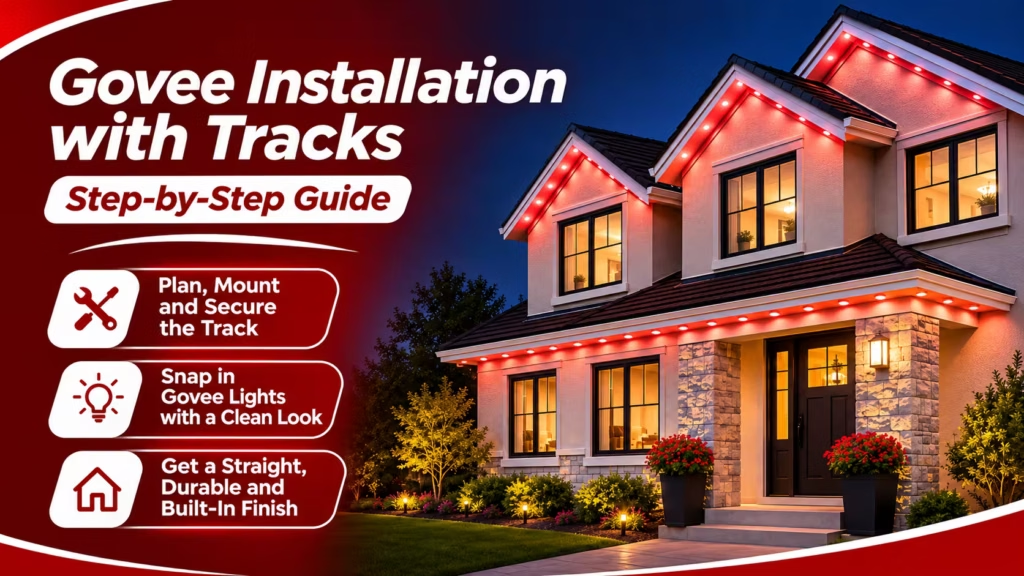
That is the moment most homeowners discover tracks. A track screws into your soffit, holds every light in a straight line, and hides the wiring, so the house looks built-in instead of taped on. This guide covers Govee lights installation with tracks from the first measurement to the first glowing night, including how to pick the right track. Most people finish in an afternoon.
No. Govee permanent lights ship with adhesive and clips, and they can go up without a track. A track is for people who care about a clean, professional look. Here is the honest trade-off.
Pros
Cons
If you want the polished look, or your winters are harsh, a track is worth it.
For a clean, built-in finish without the hassle of drilling and mounting tracks yourself, hire our professional Govee installers to handle the installation.
Match your model. Govee tracks are not universal, and this is the step that trips people up. Check the model number on the controller label or in the app. H705 or H805 means Lights 2 or Elite, H706 or H806 means Govee Pro, H707 means Govee Prism, and H3A51 or H3A53 means the newer 2 Pro.
Each model spaces its lights differently, roughly 16 inches on the H705 line and about 20 on the Pro. If you own the Govee 2 Pro, you must buy a track made specifically for it, because older Pro and Lights 2 tracks will not fit. Fasco, for example, makes a PVC track for the 2 Pro.
Pick a material. Rigid PVC is lightweight, weather-resistant and easy to cut on site, and it usually costs less. PermTrack is a well-known rigid PVC system. Aluminum is extruded or formed metal built to resist warping, cracking and fading in strong sun and heat.
Bear Light Studios and GlowTrax are popular aluminum brands. Both materials work well, so choose by budget and climate.
Match your color. Most tracks come in black or white, which suits most soffits. To blend one into your trim, you can spray it. Use exterior paint suited to the material, apply several light coats, and always paint before mounting. Some brands also sell powder-coated colors if you would rather skip painting.
Buy enough. Measure every run of soffit, then add 20 to 25 percent. Simple rooflines can get by with less, but peaks, corners, cuts and mistakes eat footage quickly.
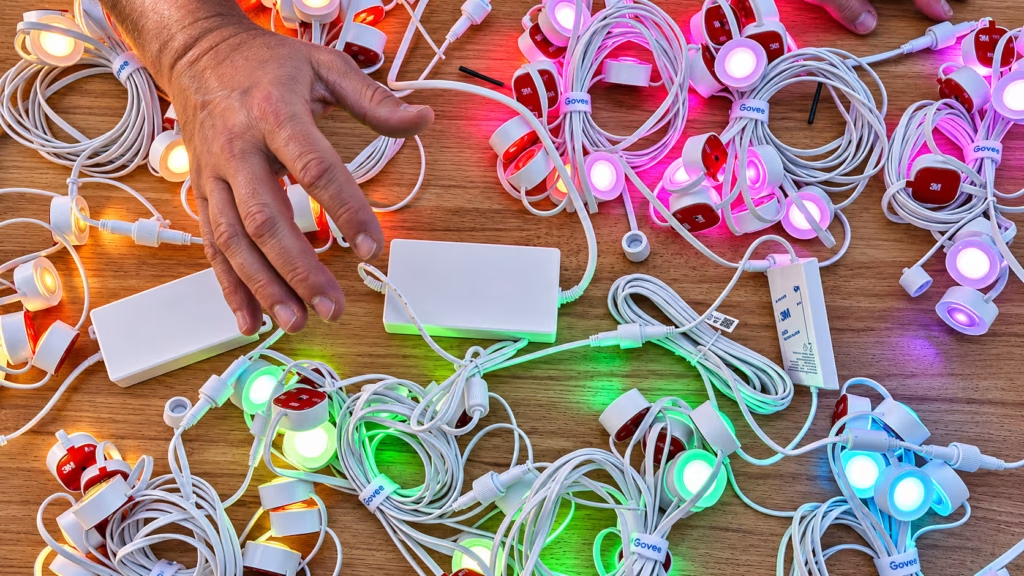
Plug in the whole strand before anything goes up. Confirm every light works and the app connects. Finding a dead puck on the ground takes two minutes. Finding it from the top of a ladder takes an hour.
Decide how far from the wall the track will sit. Two to four inches is the usual range, and the farther out you go, the more rounded the glow. Snap a chalk line along the soffit so you are not measuring every section separately.
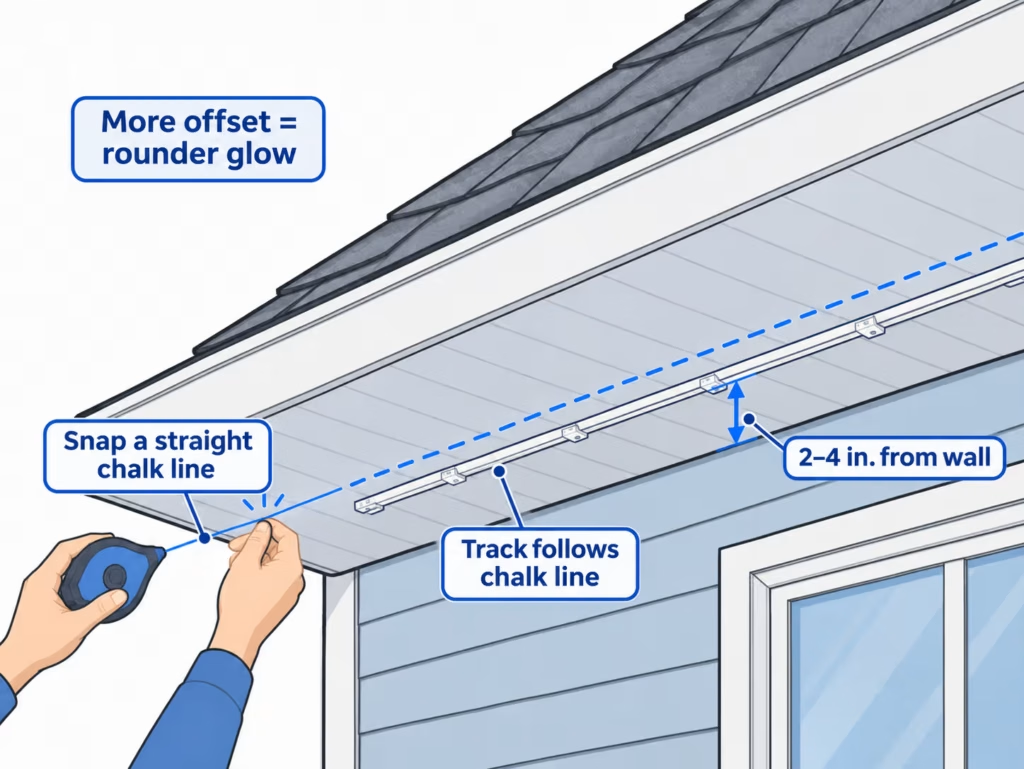
Most tracks come in two pieces: a flat base and a snap-on cover that holds the lights. Fasten the base to the soffit with self-tapping screws, running the sections end to end. Aim for solid wood. The pre-drilled holes do not always land on it, so drill your own where needed. You will not need the adhesive tape here, because the screws do the holding.
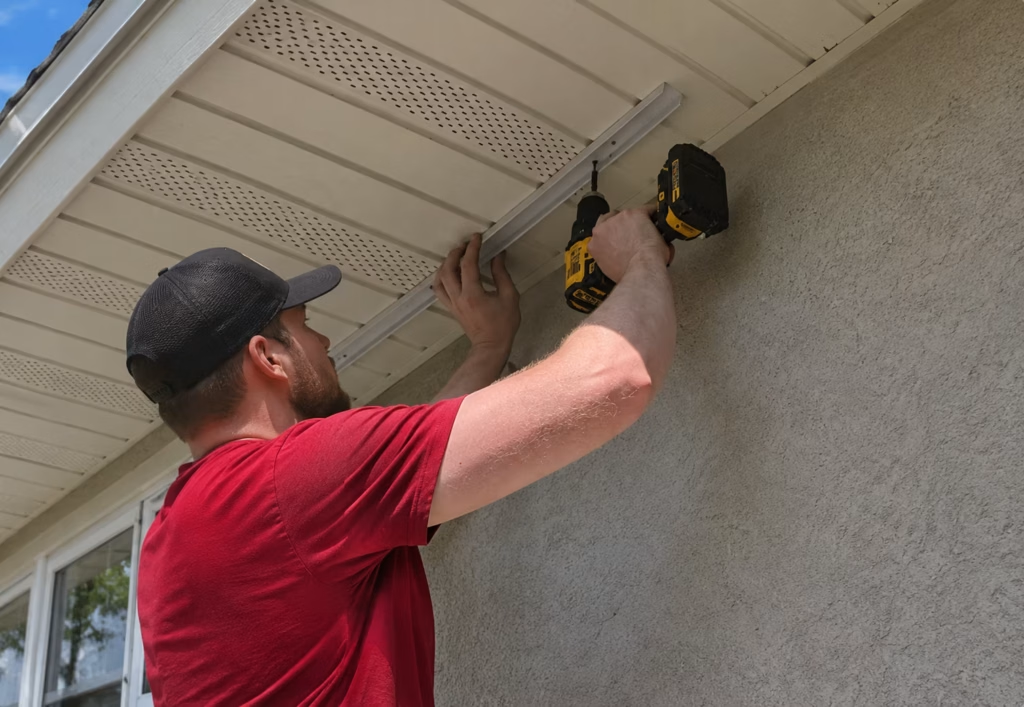
On two-piece systems, pop the pucks into the cover on the ground, where it is easy, not up the ladder. On one-piece tracks, snap each light into its hole as you work along the run.
Press the cover onto the base until it clicks, working the full length. The lights lock in and the wiring disappears.
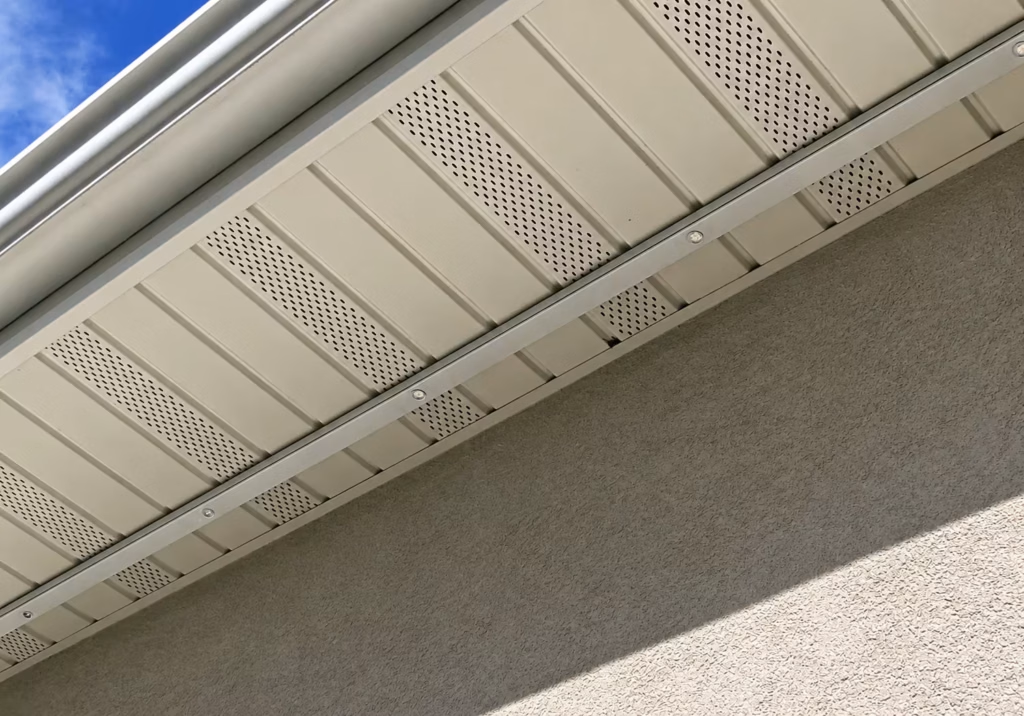
Cut sections to length with tin snips or a miter saw. Use corner pieces at 90-degree turns and end caps on open ends. Most kits include both. Never force a tight bend. If the lights themselves are too long for a run, remember that only the Pro, 2 Pro and Prism can be cut. Lights 2 cannot, so plan those runs around the fixed lengths.
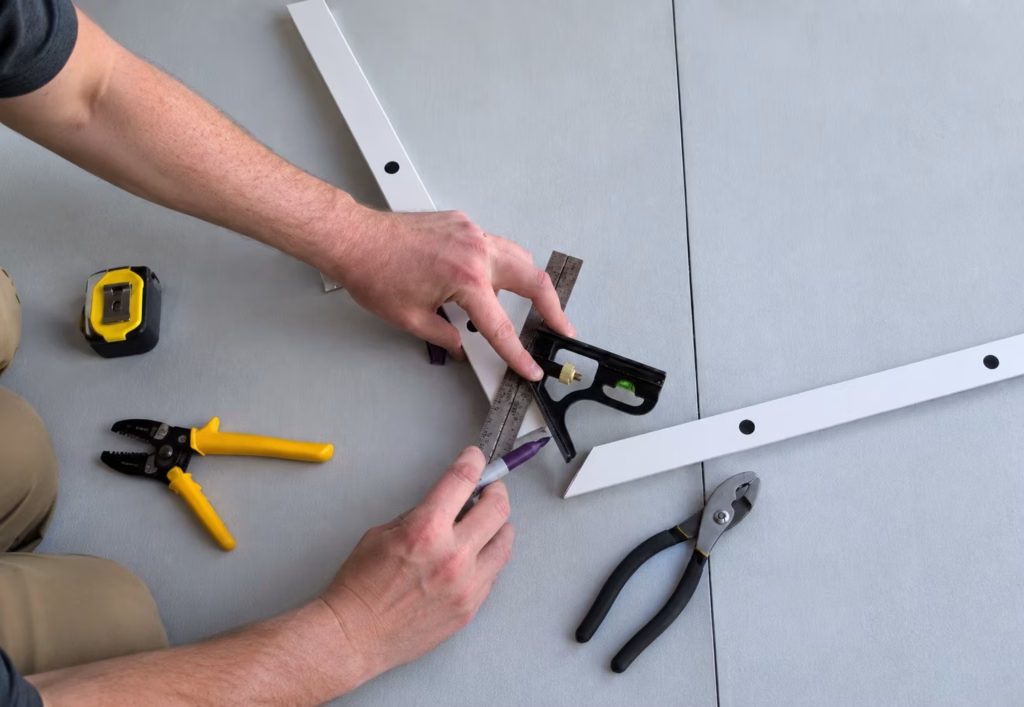
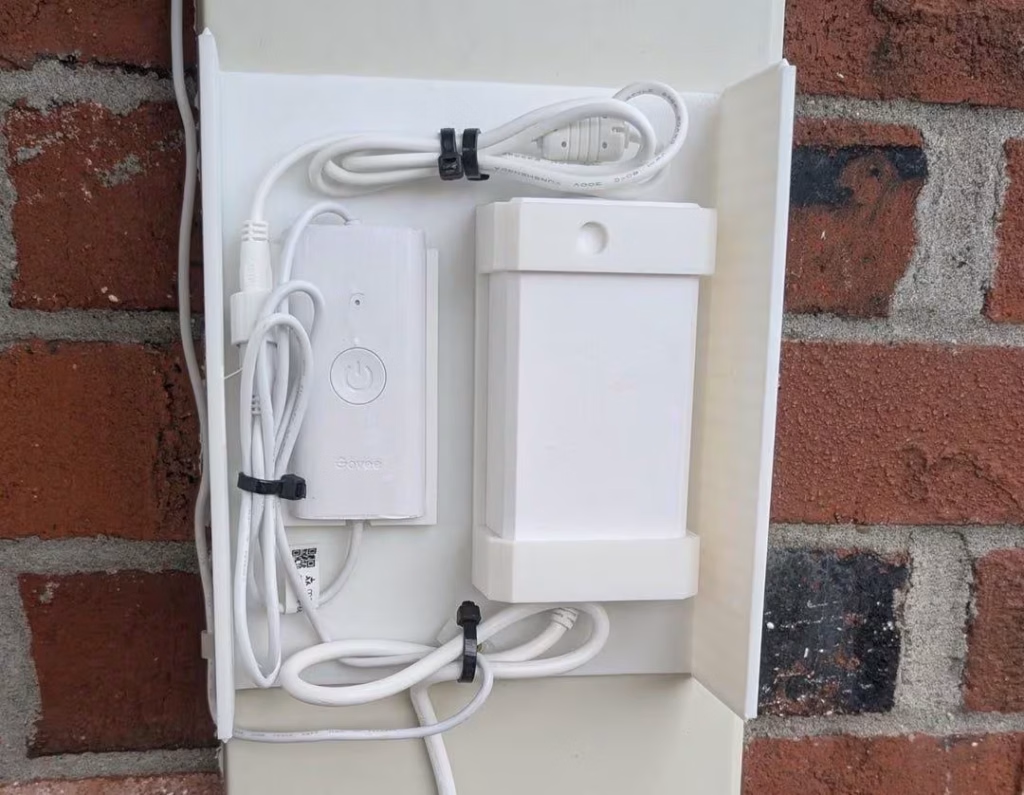
Mount the controller and power supply under the eave, out of direct rain, and route the power cable to your outlet, sealing any hole you drill through the wall. Pair the lights in Govee Home over Bluetooth, join your 2.4 GHz Wi-Fi, and pick a scene.
From testing and measuring to mounting tracks, handling corners, and final setup, our professional Govee installers can take care of every step for a clean, secure finish.
DIY works for most single-story homes. A two-story roofline, steep peaks or a packed schedule are good reasons to call a pro. Govee installers are listed on Thumbtack and through some track makers’ installer networks, and some quote about $3 to $6 per foot for labor, usually with a minimum. Ask whether the quote includes the track, and ask to see a past Govee Permanent Outdoor Lights installation before you commit.
A track turns Govee Permanent Outdoor Lights installation from a risky ladder chore into a tidy afternoon project. Match the track to your exact model, especially if you own the 2 Pro, buy 20 to 25 percent extra, and paint it before it goes up. Then mark your line, screw down the base, and snap the lights in. Prefer to stay off the roof? A Govee lights installer can handle it for you.
No. They can be installed with the included adhesive and clips. A track is optional, but it holds better on painted, vinyl or cold surfaces and gives a cleaner, more professional look.
It depends on the model number. Lights 2 and Elite (H705/H805), Pro (H706/H806), Prism (H707) and 2 Pro (H3A51/H3A53) each need their own track. If you are installing the 2 Pro, buy a track made for it.
Yes. Tracks mostly come in black and white, but you can spray them to match your trim. Use exterior paint suited to the material, and paint before mounting.
Add 20 to 25 percent to your measured footage. Homes with many peaks, corners or dormers may need even more.
Aluminum resists warping, cracking and fading in strong sun. Rigid PVC is lighter, easier to cut on site, and usually cheaper. Both work well when installed correctly.
Fill out the quick form below to get your FREE Govee Installation Quote!
Explore helpful Govee lighting tips, creative setup ideas, practical guides, and expert advice for getting the most out of your smart lights. Discover better ways to install, customize, control, and enjoy Govee lighting in your home, gaming setup, or outdoor space.
Fast, dependable Govee light installation with expert service, lasting performance, and exceptional craftsmanship.